Example
This example assumes that you have already completed the setup and have a Web2Publish publication configured and ready for rendering.
The walkthroughs below show the different ways to render the same publication with the supported rendering methods. Each walkthrough focuses on the rendering workflow, not on the configuration details.
For details about configuring each rendering method, see the corresponding pages in the Reference section.
Import-Based Rendering
-
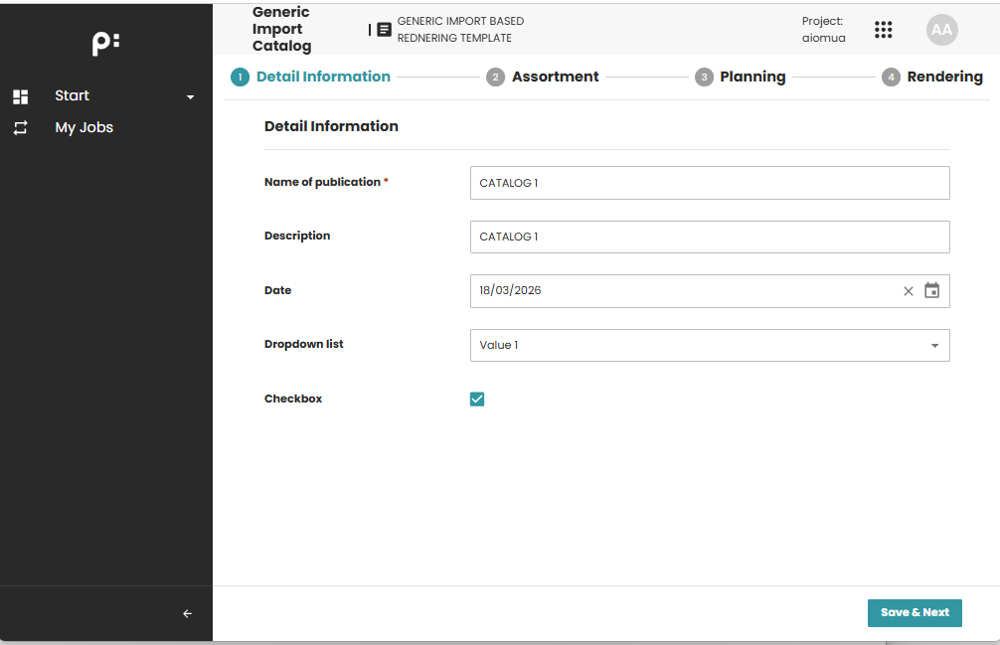
Open the W2P application, choose the template created during setup, and fill in values to create your catalog in the Detail Information wizard step. Click Save & Next.
-
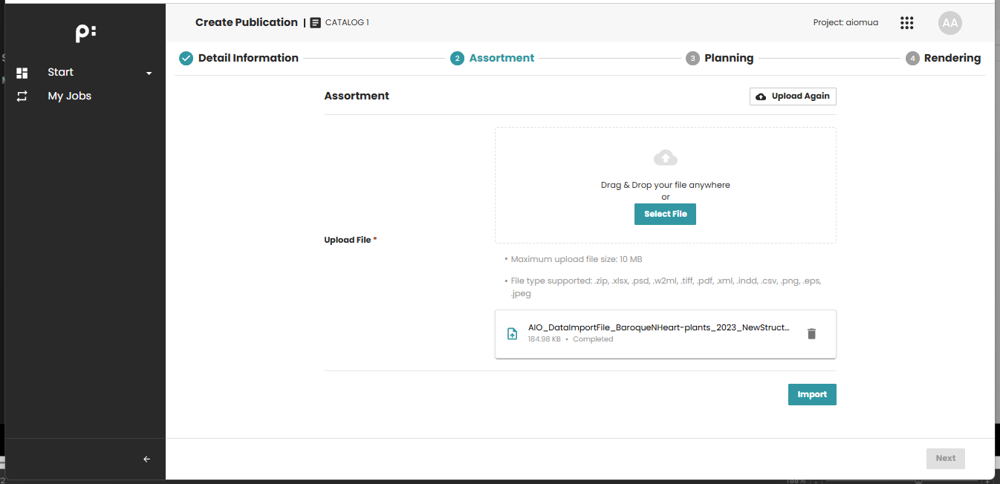
In the Assortment wizard step, click Select File to choose an Excel file with the generic import format. Ideally it contains only the products you want to build. Then click Import.
-
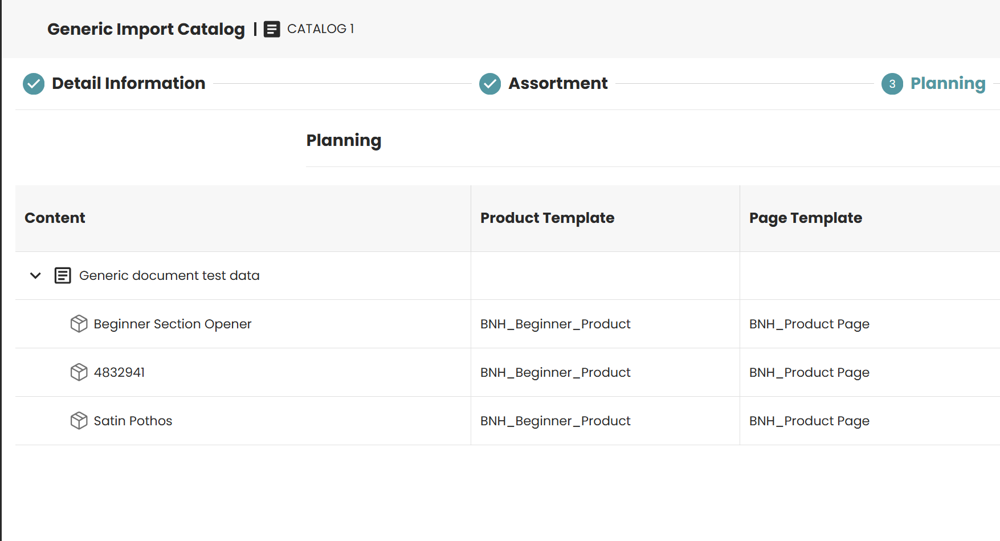
Click Next to proceed to the Planning wizard step, where you can review the planning results.
-
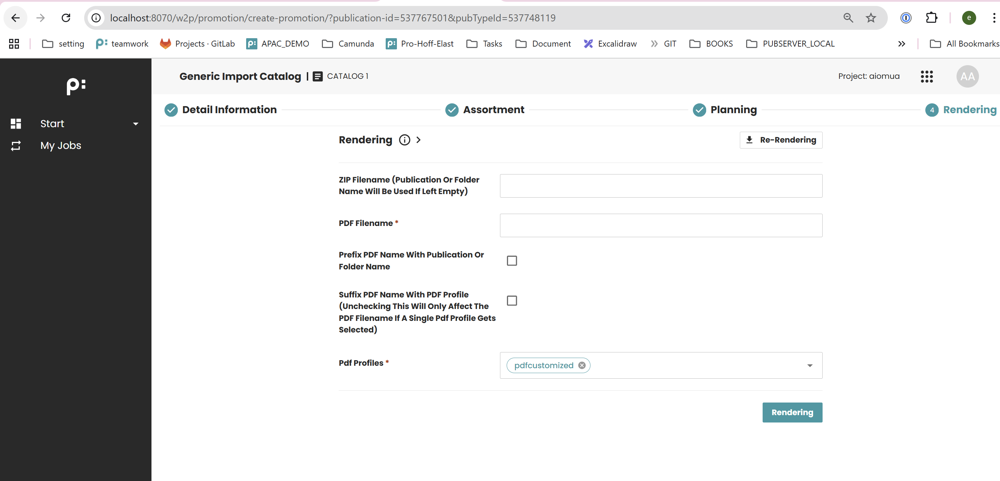
Click Next to proceed to the Rendering wizard step. Fill in the required values and click Rendering to render and export the catalog as a PDF.
-
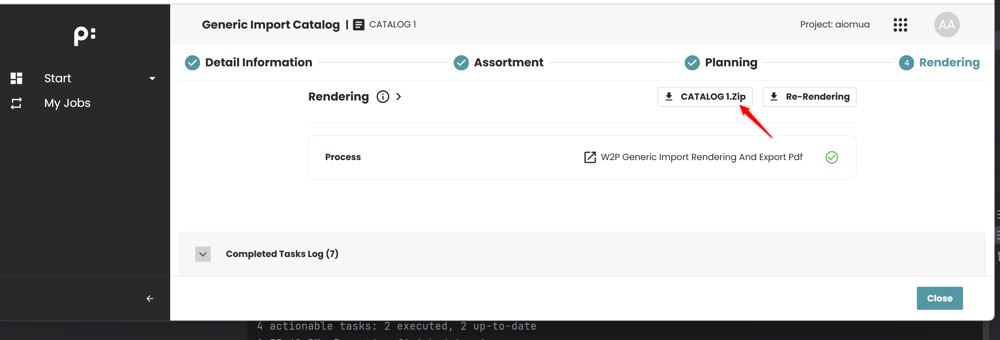
Download the catalog ZIP file to see the result.
Selection-Based Rendering
-
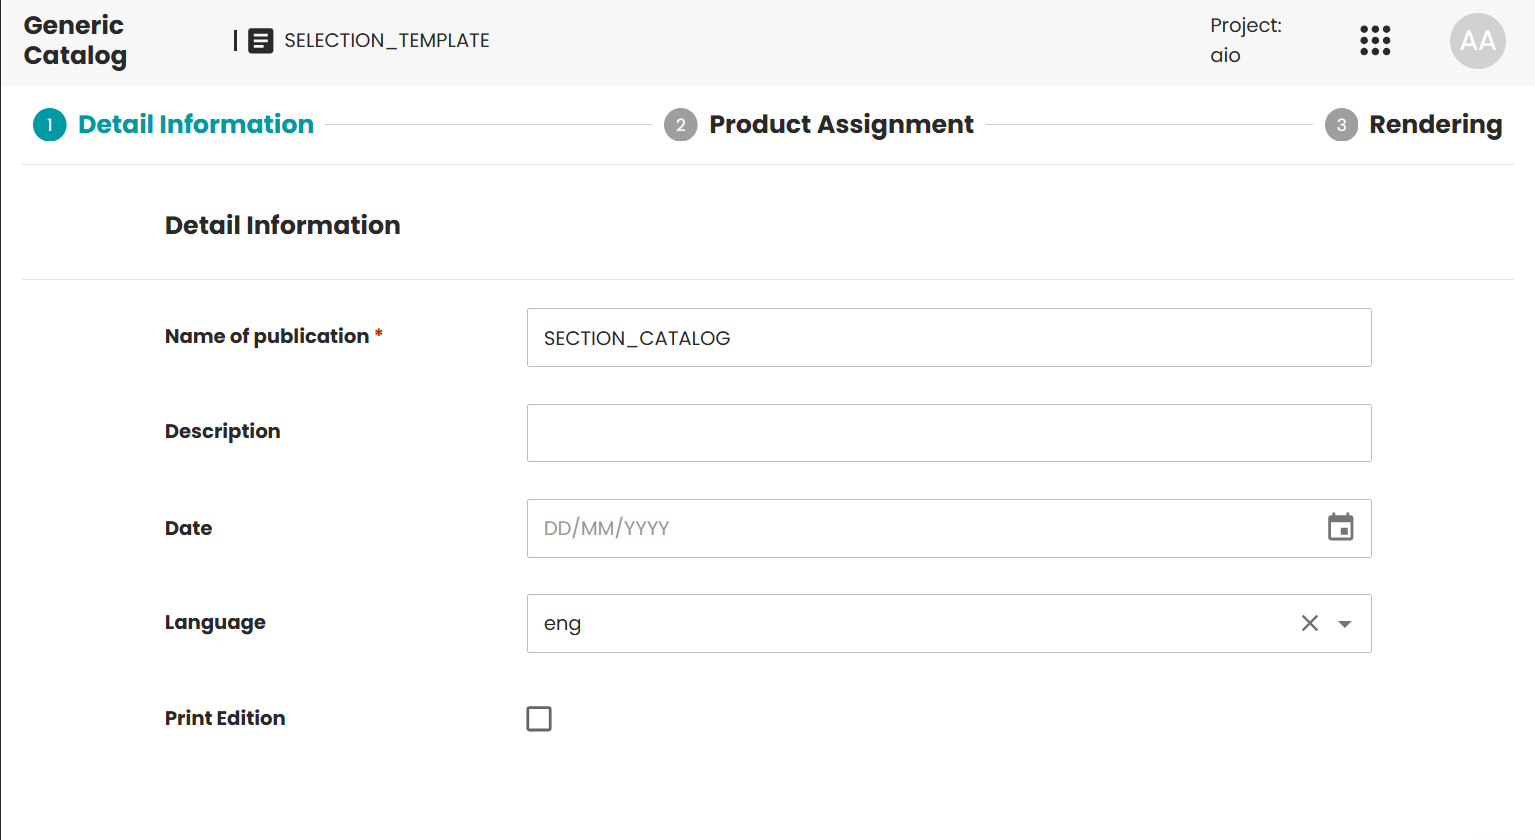
Open the W2P application, choose the template created during setup, and fill in values to create your catalog in the Detail Information wizard step. Click Save & Next.
-
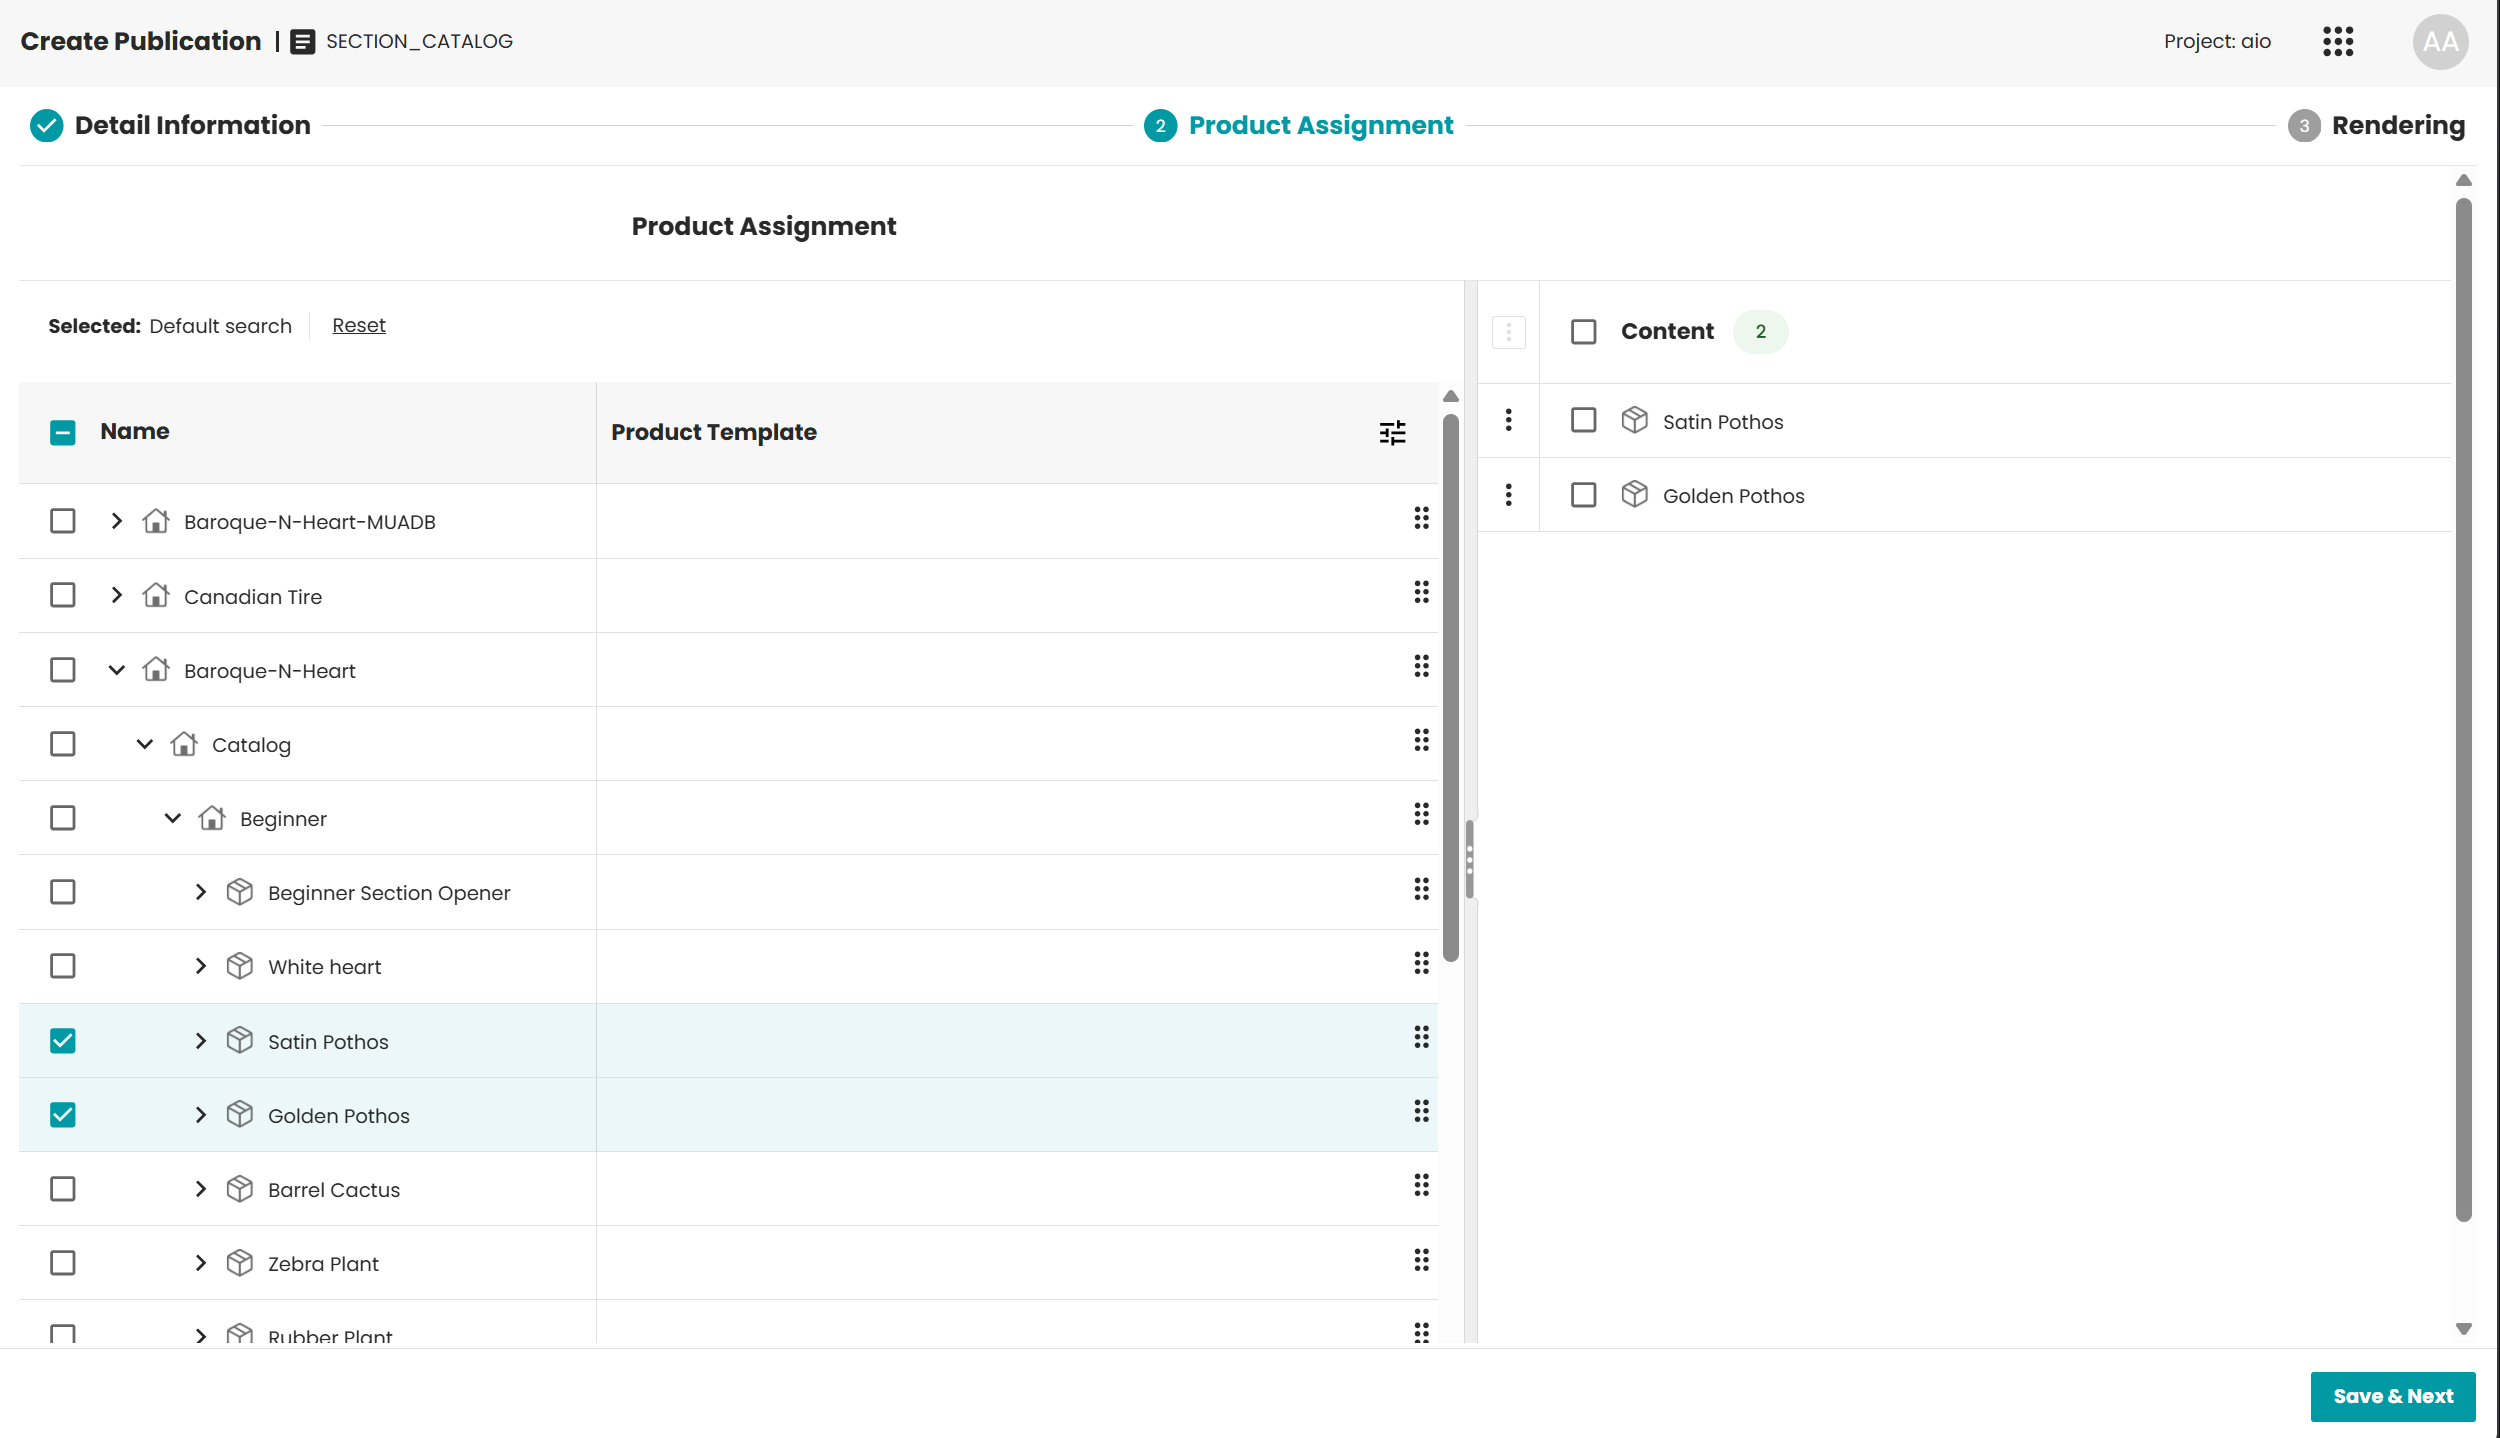
In the Product Assignment wizard step, assign bucket items by drag-and-drop, then click Next to proceed to the Rendering wizard step. Fill in the required values and click Rendering to render and export the catalog as a PDF.
-
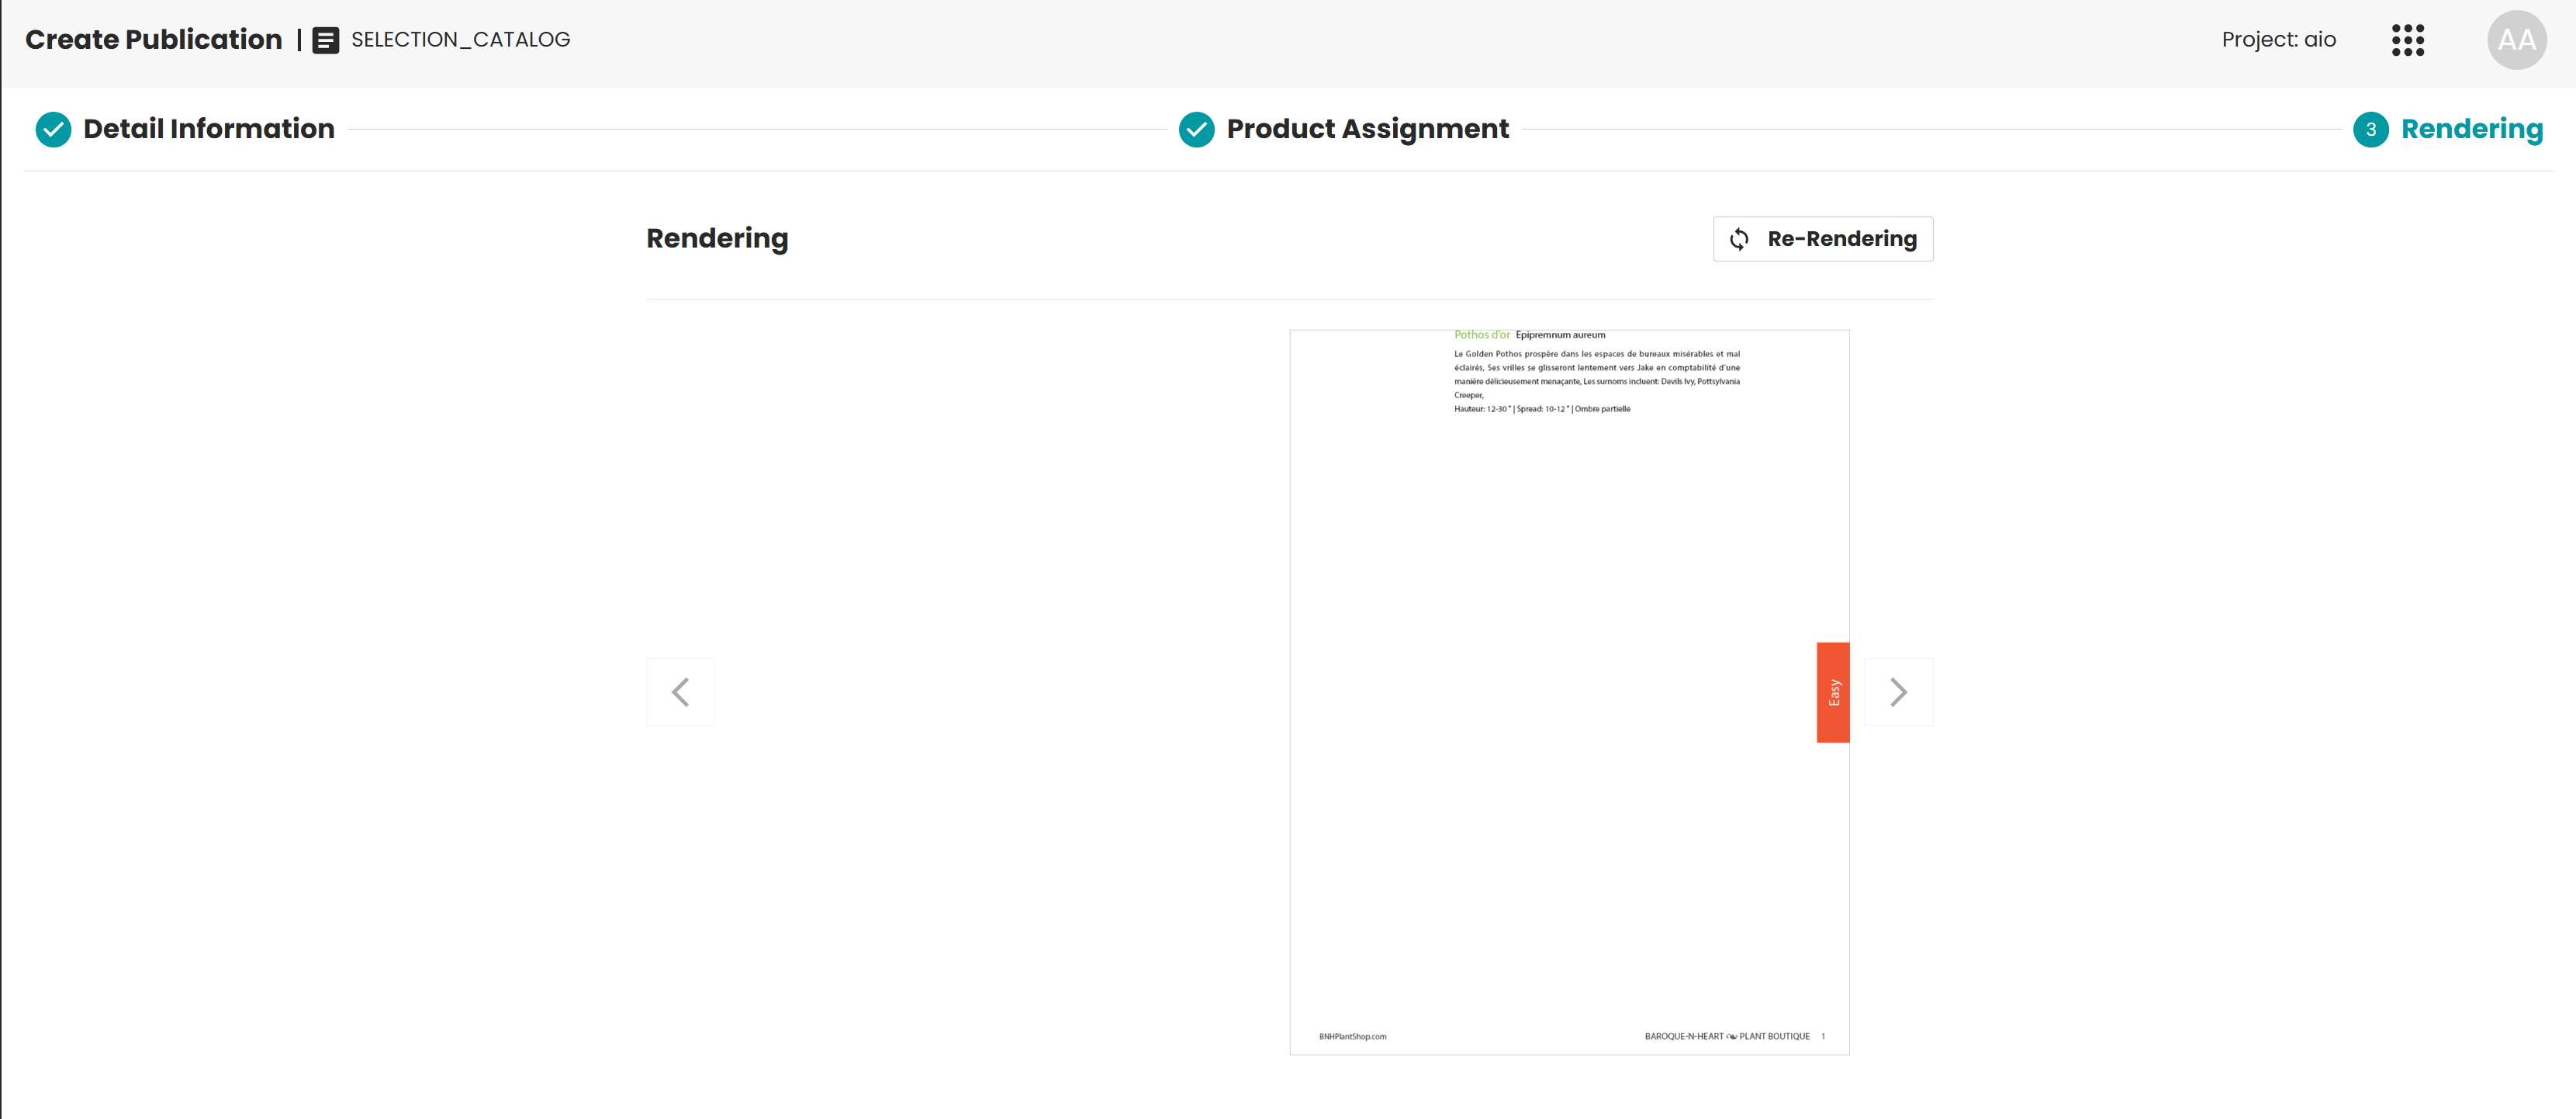
Check the preview shown after rendering succeeds.